12 Creative Ways to Use Printable Ephemera in Your Junk Journal
By Ephemera Crafts Atelier
•
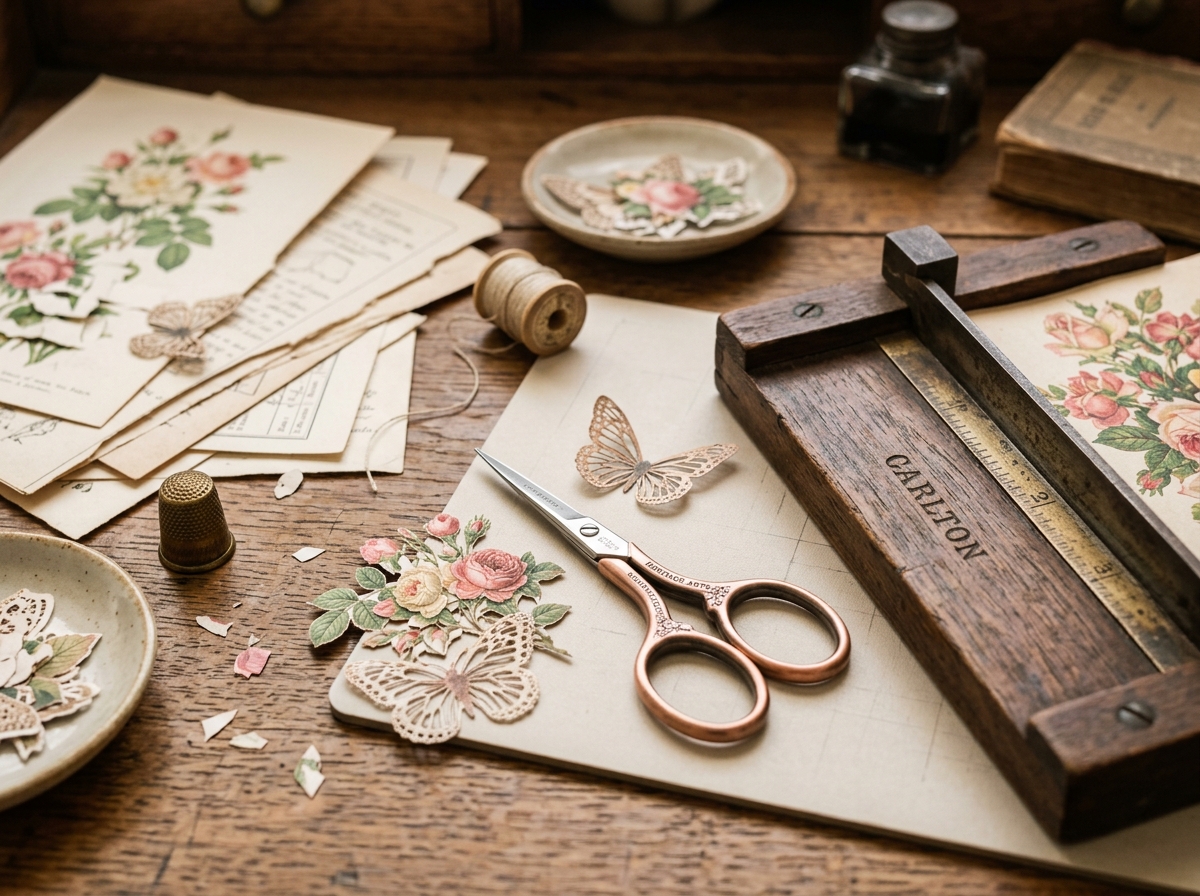
Stop hoarding your prettiest pages — here is what to actually do with them. From tuck spots and belly bands to window apertures, explore twelve practical ways to turn printable ephemera into journal magic.
Printable ephemera is wonderful until you realise you have 60 beautiful pages and no idea how to use them without "wasting" them. Here is the reframe that unlocks everything: a page that sits in a folder is wasted; a page layered into a journal is doing its job. Below are twelve ways we use our own kits in studio journals, roughly ordered from easy to ambitious. Mix them freely.
## 1. Layered backgrounds
Nothing beats starting with a full-page backdrop — an aged ledger sheet, a botanical plate, a faded map — and building everything else on top. Print background pages slightly lighter than you think you want: they will be partially covered, and a softer backdrop makes focal elements pop. Tear one edge and layer a second text-block page behind it for instant depth.
## 2. Tuck spots & pockets
The signature move of junk journaling. Fold a cardstock rectangle into a pocket, glue just its outer edges, and you have a home for tickets, lists, photos and small tags. Angle the pocket for energy; keep it straight for calm. Our [Journal Kits](/category/kits/) include pre-styled pockets, but any decorative piece of cardstock folds into one in thirty seconds.
## 3. Belly bands
A belly band is a paper strip wrapping your signature or page section, holding loose ephemera like a ribbon on a parcel. Cut a strip of patterned paper, wrap it around your folded signature, and slide a tag or bookmark underneath. It is the fastest "wow" in journal making — five minutes, endless variations: lace trim, double wraps, stamped wax seals.
> **Studio tip:** Cut belly bands from pages whose design repeats — stripes, typography, ledger rules — and let the pattern run horizontally around the spine. Instant vintage shelf-back look.
## 4. Tags, labels and tabs
Tags are the workhorses of a journal: write a date, a quote, a prompt — then tuck, tie or stitch them into a page. Labels do the same for organisation: name your tea stash, your washi, your favourite pens. Tabs let you mark sections you return to. Print tags in sets so you always have them ready, and remember the trick of printing small: two tags per card, sized down, look more "collected" than one big tag.
## 5. Envelope folios
Score a rectangle of decorative paper, fold the sides in, and you have a envelope-folio — part pocket, part secret keeper. Use pointed-flap envelopes as page additions, or fold a full-page print into a giant keepsake envelope. This is the format we return to most for storing "paper with feelings": letters, notes, ticket stubs.
## 6. Tip-ins & page extensions
A tip-in is a piece glued by one edge so it flips like a little door. Use them to hide writing, reveal a photo, or extend a page sideways — a folded-in flap of ephemera that readers can physically explore. Tip-ins convert a static page into an interactive one, and they are forgiving: if you glue slightly crooked, it reads as charm.
## 7. Collage clusters
This is where [Fussy Cuts](/category/fussy-cuts/) earn their keep. Build a small cluster — three to five overlapping pieces with a focal image, one text fragment and one small accent — as if a Victorian collector had pinned their finds to the page. Let some pieces hang off the edge; imperfection reads as authentic. Repeat the formula around the journal so it feels intentional rather than accidental.
## 8. Apertures & window frames
Cut a window through a decorative page, glue it over a lighter or written page beneath, and you have a frame that hints at what lies deeper. Fussy-cut frames — ornate ovals, botanical borders — do this with zero knife work and instantly elevate a plain spread.
## 9. Paper clips, charms & dangles
Small ephemera can be functional. Decorate jumbo paper clips with mini prints, attach charm-style dangles to tags, or thread a waxed cord through punched holes of a flip page for a bookmark that stays put. These are the tiny details that make a journal feel handmade rather than assembled.
## 10. Signature wraps & journal covers
Do not forget the outside. A printed cover or signature wrap sets the mood before a single page is turned. Wrap a folded signature in a botanical pattern before sewing it into the book; cover a simple notebook with a full-page print and a coat of matte medium; make a wraparound sleeve so the journal travels safely. In our [Mini Journals](/category/mini-journals/), the cover print does half the storytelling.
## 11. Wrapped parcels, cards & gift extras
Printable ephemera escapes the journal beautifully. Wrap a small gift in kraft paper and top it with a fussy-cut butterfly and a tag; back a handmade bookmark with a pattern; finish a letter with a wax seal over a printed label. This is also the nicest way to use the pieces you love but that do not fit your current project — give them to someone else's story.
## 12. Index pockets & storage folders
Finally, use ephemera to manage ephemera. A decorated storage folder keeps fussy cuts flat and accessible (ours is built for exactly this); an index-card pocket inside the journal keeps your "not sure where this goes" stash contained. A tidy palette of ready pieces means more making, less digging.
## Printing notes for all twelve
The method only works if the prints look good. Three habits that make everything above look professional: choose the right paper weight for the job (light paper for pages, cardstock for pockets and tags — see our [Printing Guide](/blog/guide-printing-300-dpi-junk-journal-printables-at-home/)); print on matte stock so images read as aged paper instead of glossy stickers; and distress cut edges lightly with an ink pad before assembling. Tear-edge and ink-edge read as "antique"; fresh laser-cut edges read as "printout".
And the biggest creative unlock: combine kits. A [Bookshop Folio](/product/lavender-bookshop-folio/) married to botanical fussy cuts from another set will always feel more personal than any single kit used exactly as intended. Your hand is the collection.
---
*Want pieces to try this with? Start with the [Free Printables Vault](/free-printables/), or explore the full [Studio Shop](/shop/).*