Five Spreads from the Forest Apothecary Mini Kit
By Ephemera Crafts Atelier
•
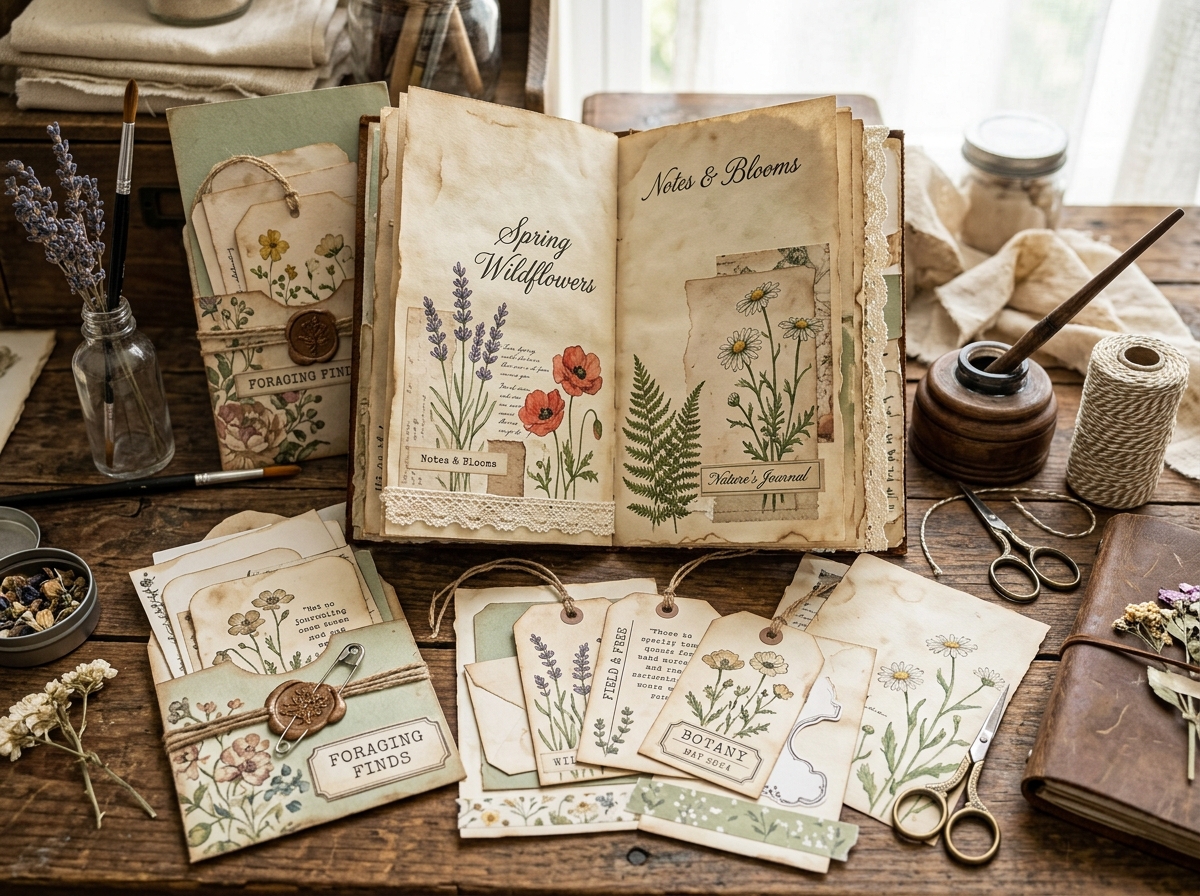
One kit, five finished spreads — and a method you can repeat with any collection.
The most common question about printable kits is also the most practical: *what do I actually do with these files?* This walkthrough answers it with five complete spreads built from the [Forest Apothecary mini kit](/product/forest-apothecary-mini-junk-journal-kit/). Each spread uses a different layout and a different mechanism, so by the end you will have a small repertoire as well as five finished pages.
## Before you start
* Print the kit pages on matte text paper and the structural elements on cardstock — see the [printing guide](/blog/guide-printing-300-dpi-junk-journal-printables-at-home/);
* Trim white borders and fold pages in half; press them under a book while you work;
* Sort the kit into three piles: backgrounds, structure (pockets, envelopes), accents (tags, labels, fussy cuts);
* Choose one palette rule: in this kit, keep to aged cream, moss, bark and one rust accent. Everything else supports those four.
If you are building the journal itself rather than adding to one, the [mini journal tutorial](/blog/mini-junk-journal-from-one-printable-kit/) covers folding, nesting and the pamphlet stitch.
## Spread 1 — The Apothecary Ledger
**Layout:** Classic Stack. **Time:** 20 minutes.
1. Use a ledger-style page as the full background — rules, columns and faded ink do most of the work;
2. Place a label from the kit in the upper third, slightly off-centre; add a smaller label overlapping its corner;
3. Build a low cluster at the bottom left: a fussy-cut leaf, a small tag, a strip of torn paper;
4. Leave the bottom right quiet for a date and two lines of writing;
5. Ink the edges lightly with brown distress ink to tie the layers together.
**Why it works:** the eye enters at the label, travels down the cluster, and rests in the writing space. One focal point, one rest area.
## Spread 2 — The Herbarium Sheet
**Layout:** Grid of Nine. **Time:** 30 minutes.
1. Choose a plain or lightly textured background page;
2. Arrange nine small botanical elements in a three-by-three grid — cut them to similar sizes so the grid reads as a system;
3. Label each with a tiny handwritten name or number (common names, not invented Latin);
4. Add a thin ruled line under each label for the "specimen" feel;
5. Leave one cell empty — the gap makes the grid look collected rather than manufactured.
**Why it works:** order creates calm, and the empty cell creates curiosity. It also uses up small scraps that would otherwise be binned.
## Spread 3 — Remedy Notes
**Layout:** Quiet Page with a Belly Band. **Time:** 15 minutes.
1. Use a lightly patterned page as the background, or leave a plain sheet;
2. Write a short "remedy" list in the centre — real notes, herbs you use, or a recipe for a quiet evening;
3. Wrap a narrow belly band horizontally across the middle, leaving the writing visible above and below;
4. Tuck a small tag under the band with a one-line note;
5. Add a single pressed leaf or a fussy cut in the corner.
**Why it works:** the band adds structure without covering the writing, and the tag gives the page a small interactive moment.
> **Kit rule:** Use one "hero" piece per spread. If the background is busy, keep the accents small; if the background is quiet, let one element be large. Two heroes fight each other.
## Spread 4 — The Hidden Drawer
**Layout:** Pocket Page + Tip-In. **Time:** 35 minutes.
1. Build a pocket from a cardstock page, gluing three edges and leaving the top open;
2. Before attaching it, glue a small card with a handwritten note to the back of the pocket — a hidden message;
3. Attach the pocket to the lower half of the page, angling it slightly for movement;
4. Slide a tag into the pocket so it protrudes by about a third;
5. Add a small tab to the tag so it can be pulled easily.
**Why it works:** it gives the spread a secret. Readers will pull the tag; the note behind the pocket rewards them.
## Spread 5 — The Closing Ritual
**Layout:** Quiet Page. **Time:** 10 minutes.
1. Leave the page mostly empty — this is the end of the section, and it should breathe;
2. Place a single tag near the bottom right with the date and a one-sentence summary of the journal;
3. Add a wax seal or a small stamped motif above it;
4. Write a short line to whoever opens the journal next — including future you.
**Why it works:** endings matter. A quiet page gives the whole journal a sense of completion and makes it feel like a book rather than a collection of decorated sheets.
## Repeat the method with any kit
The five spreads follow a simple pattern: **one hero, one mechanism, one quiet area**. Swap the ledger for a botanical background, the pocket for an envelope, the tag for a label — the structure holds. That is the point of the Kit Companion format: a kit is not a set of pages to admire, but a set of decisions waiting to be made.
---
*Get the kit: <a href="/product/forest-apothecary-mini-junk-journal-kit/">Forest Apothecary mini junk journal kit</a> · more <a href="/category/mini-journals/">mini journals</a> · start free with the <a href="/free-printables/">printables vault</a>.*