The Ultimate Guide to Printing 300 DPI Junk Journal Printables at Home
By Ephemera Crafts Atelier
•
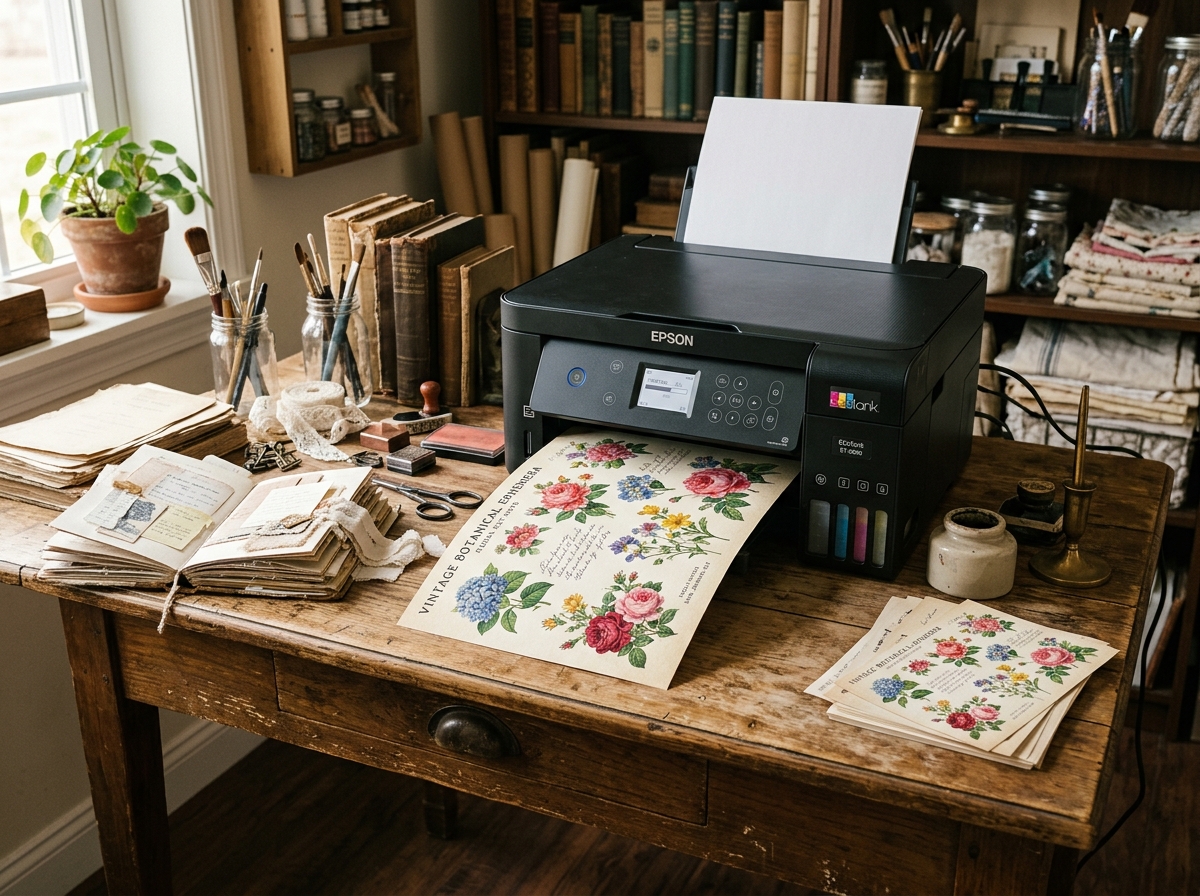
The exact settings, paper weights and double-sided tricks that turn a home printer into a vintage paper press. Paper weights, exact settings, and fixes for every common print problem.
Printing digital junk journal printables at home should be a joyful, frustration-free experience — yet most disappointing results trace back to two causes: the wrong paper, or settings that quietly shrink and dull your files. This guide fixes both, and then some. Work through it once with a test sheet, and every future print run will simply look right.
## First: what "300 DPI" actually means for you
DPI (dots per inch) describes how much detail a file holds. Our kits are restored and saved at 300 DPI — the print industry standard for photo-quality output — which means at the intended size, every fibre of an aged page, every soft pencil line, lands on paper with full detail. Your job as the printer is simply not to throw that detail away: print at 100% scale, on paper that accepts detail, with quality settings that let the printer use its finest resolution. That is the whole game.
## Choosing paper: the weight guide that matters
Paper is half the illusion. Here is the studio's working map:
| Use for | Paper | Why |
| :--- | :--- | :--- |
| Signature spreads & body pages | 28lb–32lb premium matte presentation paper (approx. 105–120 gsm) | Prevents ink bleed-through, folds smoothly, keeps spine slim |
| Pockets, tags & covers | 65lb–80lb matte cardstock (approx. 176–216 gsm) | Substantial structure for tuck spots, holds a crisp fold |
| Overlays & veil effects | Translucent vellum (printable or plain) | Softens printed pages beneath; beautiful layered depth |
| Fussy cuts & small ephemera | 32lb paper or light cardstock, matte | Clean edges when cutting, subtle presence when glued |
**Matte, always matte.** Glossy photo paper reflects light, refuses ink and distressing, and reads as "sticker" rather than "antique paper". Matte stock takes ink edges, creases and tea-stains like real paper — and it photographs beautifully for your journal pages.
## Exact printer settings
1. **Open the file in a PDF reader** (free Adobe Acrobat Reader or your system's PDF app) — not in a web browser. Browser printing silently adds margins and headers.
2. **Scale: "Actual Size" or 100%.** Never "Fit to page" — it shrinks your pages by a few percent, which accumulates into misaligned spreads.
3. **Paper type:** choose "Matte Photo Paper" or "Heavyweight Matte" in printer preferences. This slightly slows the printer and lays down more precise ink.
4. **Quality: "High" or "Best".** This is what actually activates the printer's 300 DPI capability. Draft mode halves your ink and all of the magic.
5. **Color management:** leave it to the printer by default. If prints look too cool, switch the driver to "Vivid" or select a warm preset rather than editing the file.
6. **Let prints dry** for a few minutes before handling — especially on cardstock, where ink sits closer to the surface.
## Double-sided printing without the drama
Journal spreads print on both sides, so alignment matters. Two routes, both reliable once prepared:
* **Automatic duplex:** enable two-sided printing in the driver, but first run a single test spread. Hold the finished test sheet to a window: if the second side sits off-center, adjust the driver's "print both sides" offset setting or add a millimeter of shift to the file's margins.
* **Manual duplex** (more control, works on any printer): print only the odd pages; take the stack out, keeping it perfectly squared; draw a small pencil arrow on ONE test sheet showing which way it re-enters; reload and print even pages. Once the arrow trick is set up, every subsequent run is foolproof.
One habit saves entire reams: **always test on plain paper first.** Ten seconds of checking beats twenty ruined sheets of cardstock.
> **Studio tip:** If your printer tends to grab two sheets of cardstock, feed sheets one at a time through the rear (straight) feed path and fan the paper before loading. Slow and boring wins.
## Aging your prints like antique parchment
Once printed, a page can be aged in minutes. Run an ink blending tool loaded with *Vintage Photo* or *Walnut Stain* distress ink lightly along the cut edges — heavier at corners, feather-light in the middle of edges. For tactile charm, gently crinkle the page and press it flat with a dry craft iron between two sheets of clean paper (protect the plate from any residual ink). For deeper staining, tea-dye *blank* paper before printing: pre-dyed and dried paper gives the most authentic tone, and you avoid any risk of ink running that comes with soaking printed sheets.
## Troubleshooting the five most common problems
* **Faint bands across the page:** almost always clogged nozzles — run the printer's clean-heads cycle, then print a test pattern.
* **Ink showing through from the back:** paper too thin or ink too heavy. Move up a paper weight; avoid "Best Photo" mode on light stock.
* **Colors look dull compared to screen:** your screen is backlit and bright; matte paper is not. Judge prints in daylight, not against a monitor. A warm, slightly faded look is period-correct for vintage ephemera anyway.
* **Paper curls as it exits:** reduce ink volume slightly or switch to a thinner stock; store prints flat under a book. Humidity is usually the hidden culprit.
* **Cardstock jams:** use the rear straight-feed, load one sheet at a time, and make sure the paper type in the driver matches the actual stock.
## Storing prints like an archive
Dye inks can fade in direct sunlight within months. Keep finished prints in a flat box or folder away from windows; store loose sheets interleaved with plain paper; and for journals that live outdoors or on display, consider a light protective spray of matte fixative after decorating. Archival habits are the difference between a journal that looks vintage and one that becomes it.
---
*New to printable kits? Start with the [Free Printables Vault](/free-printables/), then browse [The Shop](/shop/) — and if a setting still misbehaves, write to us, we have seen every printer mood there is.*