How to Build a Multi-Signature Junk Journal from Digital Bundles
By Ephemera Crafts Atelier
•
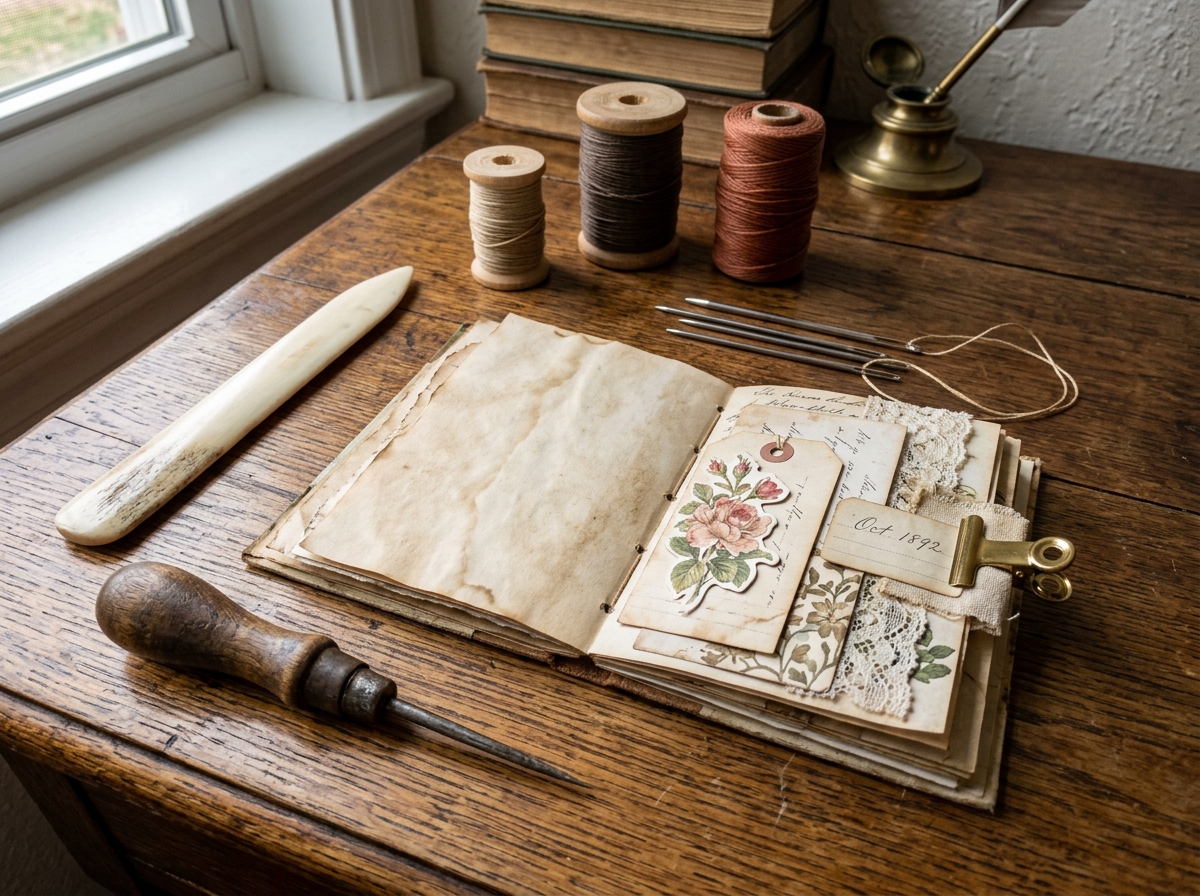
Calculating spine width, nesting signatures, joining them into one spine — and hiding a secret flip-out pocket along the way. The complete multi-signature build.
Building a multi-signature junk journal is one of the most rewarding creative projects in papercraft. When you start from a digital bundle, you control every page — the colours, the sequence, the hidden pockets — and end up with something that feels like a rescued antique, not a craft project. The steps below start where a printed stack of pages ends, and take you all the way to a finished spine.
## Why build with multiple signatures
A "signature" is a small nest of folded sheets. A single-signature journal is lovely but limited: past about five sheets, the spine stops closing and pages fan open by themselves. Multi-signature construction solves this — each section stays slim and openable, while the binding unites them into a real book: 3–4 signatures of 4–5 sheets each gives you a 48–80 page journal that still lies flat.
## Step 1 — Do the page math first
Count before you print, and the project flies; skip this and you will reprint twice. The arithmetic every bookbinder uses:
* one folded sheet = **4 book pages** (two sides, front and back);
* one signature of 5 sheets = **20 pages**;
* three signatures = about **60 pages** — the sweet spot for a first multi-signature build.
Then measure your paper, not just count it: fold a test sheet, stack the planned number, and measure the stack's thickness with a ruler. You will need this number twice — once for planning a realistic page count, once for cutting the cover in step 6.
## Step 2 — Print, mix and nest your signatures
Print your bundle's spreads (see our [Printing Guide](/blog/guide-printing-300-dpi-junk-journal-printables-at-home/) for settings and paper weights), then design each signature like a small magazine: open with a pattern page, alternate busy and calm spreads, slip in plain or tea-dyed writing sheets between printed ones, and end on a quiet page. Mix patterned paper with plain tea-dyed writing paper for visual balance — the contrast is what makes a book feel collected rather than manufactured.
Nest each signature: 4–5 folded sheets slid inside one another, edges tapped level. Clip each signature shut and press the stack under a heavy book while you prepare the next one.
## Step 3 — Attach interactive ephemera before sewing
Never work through a bound spine if you can work on a flat one. Before any thread goes in, attach your pockets, belly bands, envelope folios and tip-ins to the outer sheets of each signature. As you attach each piece, reinforce every hinge flap with vintage washi tape or a strip of fabric lace — hinges are what die first in a working journal, and twenty seconds of tape buys years of opening.
> **Studio tip — the secret flip-out pocket:** Fold a small cardstock pocket and glue it to the *inside* of a signature's outer sheet, tape-covered hinge facing the spine. When the book is closed, the pocket vanishes; when opened, it flips out like a hidden shelf. Slide a tag of "things to remember" inside, and nobody will believe it was an accident.
## Step 4 — Make a piercing template
Consistent holes across signatures are the difference between a neat spine and a wandering one. Measure your stations on a strip of card: for a simple book, five holes — at 1 inch from the top, at center, at 1 inch from the bottom, and exactly between them on both sides. Cut the strip to the book's height and use it to mark every signature identically. Pierce each marked point with a bookbinding awl, straight and true, working over a soft surface (firm foam or an old phone book). Leave the template in the book — it becomes your sewing guide.
## Step 5 — Sew each signature (pamphlet stitch)
Thread your needle with waxed linen thread (wax stops tangles and locks the knot). For the five-hole stations, the classic pamphlet sequence is: **center in → out 2 → in 1 → out 2 → in 3 → out 4 → in 3 → out center** — then tie the two loose ends at the center with a double knot. What matters more than the sequence is the tension: pull evenly, snug but never wrestling the paper. When each signature is sewn, leave short tails at the center — they will join the book together in the next step.
## Step 6 — Join the signatures into one spine
For a robust first build, use the "link-and-press" method: stack your sewn signatures in order, clipping the stack so all spines align. Re-thread a needle and run a single line of stitches down the spine, passing through the center hole of each signature (under the original knots) — this links all sections to a common thread. Pull taut, tie off at both ends, and press the whole book under weight for a few hours. The pages will relax into a single, solid block.
Then cut and attach the cover. A wrap cover is ideal: measure the stacked signatures' thickness (your step 1 number), add 3–4 mm of breathing room, and cut one piece of heavy cardstock to two-page-width + spine + the same again for the back, plus generous turn-in margins. Wrap it around, glue only along the spine area, and add a decorative focal piece to the front.
## Step 7 — Finishing and closure
Finishing makes it "a journal" rather than "a stack with a cover": distress the spine edges lightly with ink, add a closure (a waxed cord wrapped twice around the middle, an elastic band, or a belly band holding a tag), tuck something into the secret pocket, and date the spine in pencil. Leave the book under a weight overnight if time allows — tomorrow it will feel like it has always existed.
## Troubleshooting the common trials
* **Pages slide out of order:** they were nested, not sewn — every sheet must be caught by the stitching through its own signature;
* **Spine too tight, pages fight back:** you either sewed with too much tension or ignored the page math — remove the joining thread, press longer, and sew with gentler pulls;
* **Thread breaks while tightening:** too little wax or too much force on linen thread; wax more, pull less, and use a longer needle to reduce strain.
First multi-signature builds rarely win prizes — they win confidence. Second builds win prizes. Once this spine holds, scale it: try five signatures, landscape binding, printed covers, or a two-tone thread scheme. Start with a [Mega Bundle](/category/bundles/) so you have more pages than you need — the freedom to choose makes the sequencing half the fun.
---
*New to binding? Read the beginner's walkthrough on [Making a Mini Journal from a Single Kit](/blog/mini-junk-journal-from-one-printable-kit/) first — then return here for the full book.*