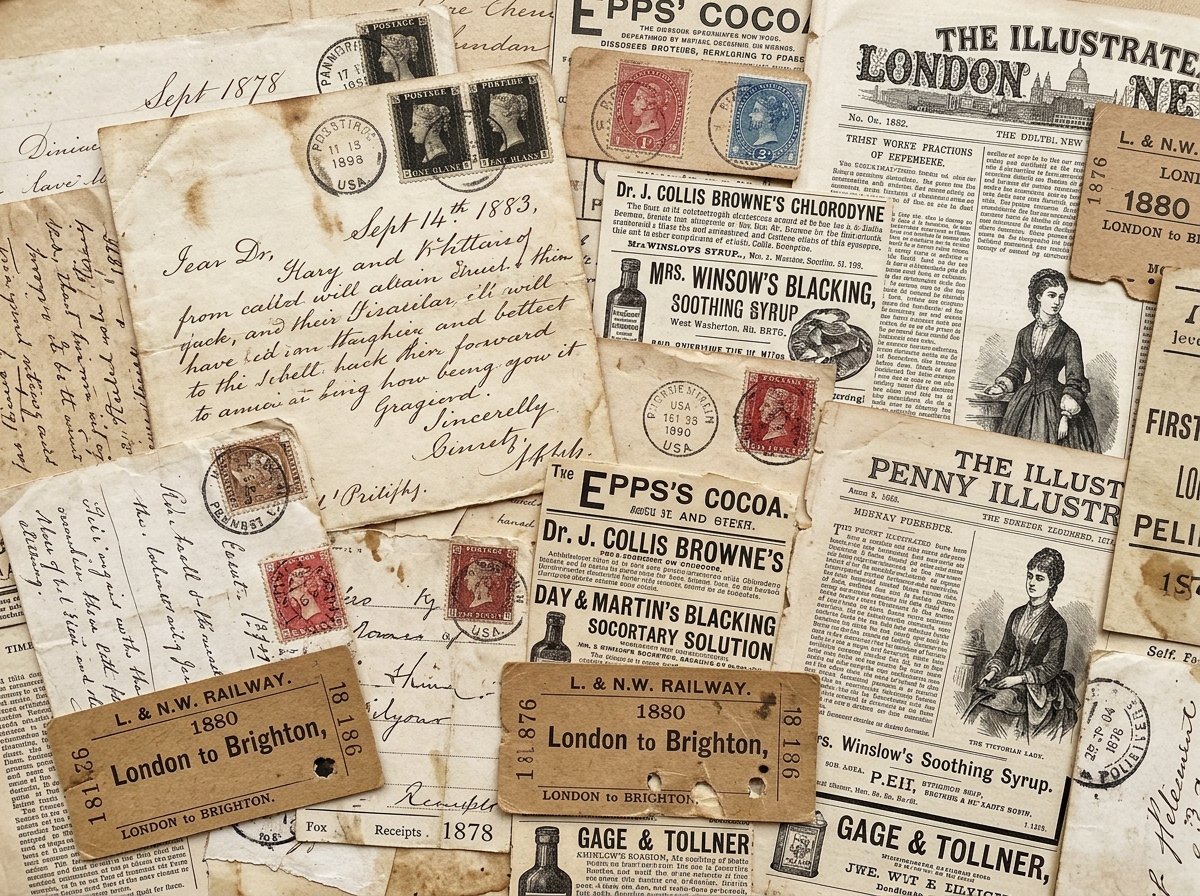
No art degree, no expensive kit, no rules — just paper, glue and an hour to spare. The minimal supply kit, where to find ephemera, and how to make your first junk journal without spending a fortune.
Junk journaling is one of the friendliest crafts you can pick up: it asks for rescued paper, a bit of glue and a willingness to make a beautiful mess. And yet, most beginners stall before the first page — overwhelmed by supply lists, "perfect" flip-throughs on social media and the fear of doing it wrong. This guide strips all of that away. By the end, you will know exactly what to buy (very little), where to find materials, and how to build your first journal this week.
## What junk journaling actually is
A junk journal is a handmade book — usually made from folded paper, old book pages or printable pages — that you fill with whatever paper life throws at you: receipts, envelopes, tickets, letters, tags, photographs, pressed flowers and writing. The name comes from the "junk": materials that were never meant to be precious. The point is not archival perfection; the point is keeping paper and memory in a way that feels personal.
If you are new to the whole idea, start with our explainer on [What Ephemera Is](/blog/what-is-ephemera/) — the same tradition, four centuries older than Instagram. Unlike scrapbooking, junk journaling has no set rules about layouts, no requirement to buy matching collections, and no "right" way to fill a page. That freedom is exactly why it is so easy to start — and so hard to stop.
## The minimal kit (do not buy more than this)
You can make your first journal with things you likely already have. Truly minimal:
* **Something to journal in.** A plain notebook, a half-used exercise book, or folded sheets of paper you stitch yourself later. Do not buy a fancy journal yet.
* **Paper to fill it.** Old envelopes, magazine pages, wrapping paper, junk mail, printed printables — more on where to find these below.
* **Adhesive.** A glue stick is perfect for thin paper; a small bottle of PVA (white craft glue) for cardstock and pockets. Double-sided tape is a great invisible helper.
* **Scissors** (small, sharp) and, ideally, a **craft knife** for clean pocket edges.
* **A pen.** Any pen. This is a journal, not a calligraphy exam.
That is genuinely enough. Everything else — distress inks, washi tape, wax seals, corner rounders — is an upgrade you can earn by finishing your first journal, not a prerequisite for beginning.
## Where to find ephemera for free (and almost free)
Half the charm of junk journaling is rescuing paper. Look around your home first: envelopes with interesting stamps, receipts, old greeting cards, sheet music, maps, foreign-language packaging, brown paper bags. Charity shops and library sales often sell old books and sheet music by the bag for pennies — their pages make gorgeous backgrounds.
Then there is the digital route, which is where printable ephemera shines: you can print exactly what you need — vintage labels, aged ledger pages, botanical plates, tags — in any quantity, at any size, without hunting. Start with our [Free Printables Vault](/free-printables/), and explore the [Shop](/shop/) when you want a coordinated set. For best results at home, read our [Printing Guide for 300 DPI Printables](/blog/guide-printing-300-dpi-junk-journal-printables-at-home/) before your first print run.
## Your first journal, step by step
1. **Pick a small theme.** Not a decade-spanning epic — something like "autumn", "bookshop" or "letters from nowhere". A theme makes every choice easier.
2. **Print and trim.** Choose 5–10 printable pages you love, print them on the paper weights suggested by the guide, and trim the white edges off.
3. **Fold and nest.** Fold each page in half. Nest 4–5 folded sheets inside one another to make a "signature". Two or three signatures are plenty for journal number one.
4. **Bind simply.** Either sew your signatures with three simple stitches (our [Multi-Signature Guide](/blog/how-to-build-multi-signature-junk-journal-from-digital-bundles/) walks through it), or start even simpler: clip the sections into a travel journal cover, or work straight inside a ready-made notebook.
5. **Decorate as you write.** Do not pre-decorate the whole book. Add a pocket when you have a ticket to store; add a tag when you have a thought to jot. Journals grow better from the inside out.
> **Studio tip:** Print two copies of any page you love: one to use, one to cut up. Fussy-cut images layered over the full page create depth that looks "collected", not "printed".
## Five beginner mistakes (and how to skip them)
* **Buying everything at once.** Supplies you have not used yet become guilt in a drawer. Buy as your skills ask for more.
* **Too much glue.** Glue stick applied edge-to-edge on thin paper causes wrinkles and bleed-through. A thin border of glue, or double-sided tape, behaves far better for pockets and flaps. (The same principle shows up in our [Guide to Print Quality](/blog/bilinear-vs-bicubic-printing-junk-journal-ephemera/) — small technicalities decide whether a page looks crisp or cheap.)
* **Making it too precious.** If your journal is "too nice to use", the first page will stay empty forever. Ugly first pages are part of the contract — write on them anyway.
* **Comparing to finished flip-throughs.** Those journals were filled over months, often with years of collected paper. Yours will get there.
* **Overstuffing.** If the spine stops closing, move some ephemera to the back pocket or a separate "scrap folio" — your journal will thank you.
## Keep the habit alive
The secret to finishing a junk journal is absurdly simple: keep it on your desk, and add something small every few days. A tea-stained tag here, a two-line entry there. The journals that look magical online are not made in marathon sessions — they are made in ten quiet minutes at a time. Set a tiny ritual: Sunday evening, one page, one cup of tea.
## Beginner FAQ
**Do I need a printer?**
No — you can build a whole journal from recycled paper alone. But a basic inkjet printer turns any home studio into a vintage paper atelier, and our freebie vault gives you pages to start with.
**Is junk journaling the same as scrapbooking?**
They are cousins, not twins. Scrapbooking preserves photos with archival materials; junk journaling celebrates rescued paper, texture and imperfection.
**Can I sell journals I make with your printables?**
Yes — our files come with a small-business craft licence. See the [FAQ](/faq/) for details.
---
*Ready to make your first page? Browse the [Free Printables Vault](/free-printables/) or pick a coordinated [Kit](/shop/) — and tag your first pages so we can cheer you on.*