How to Make a Mini Junk Journal from a Single Printable Kit (Step by Step)
By Ephemera Crafts Atelier
•
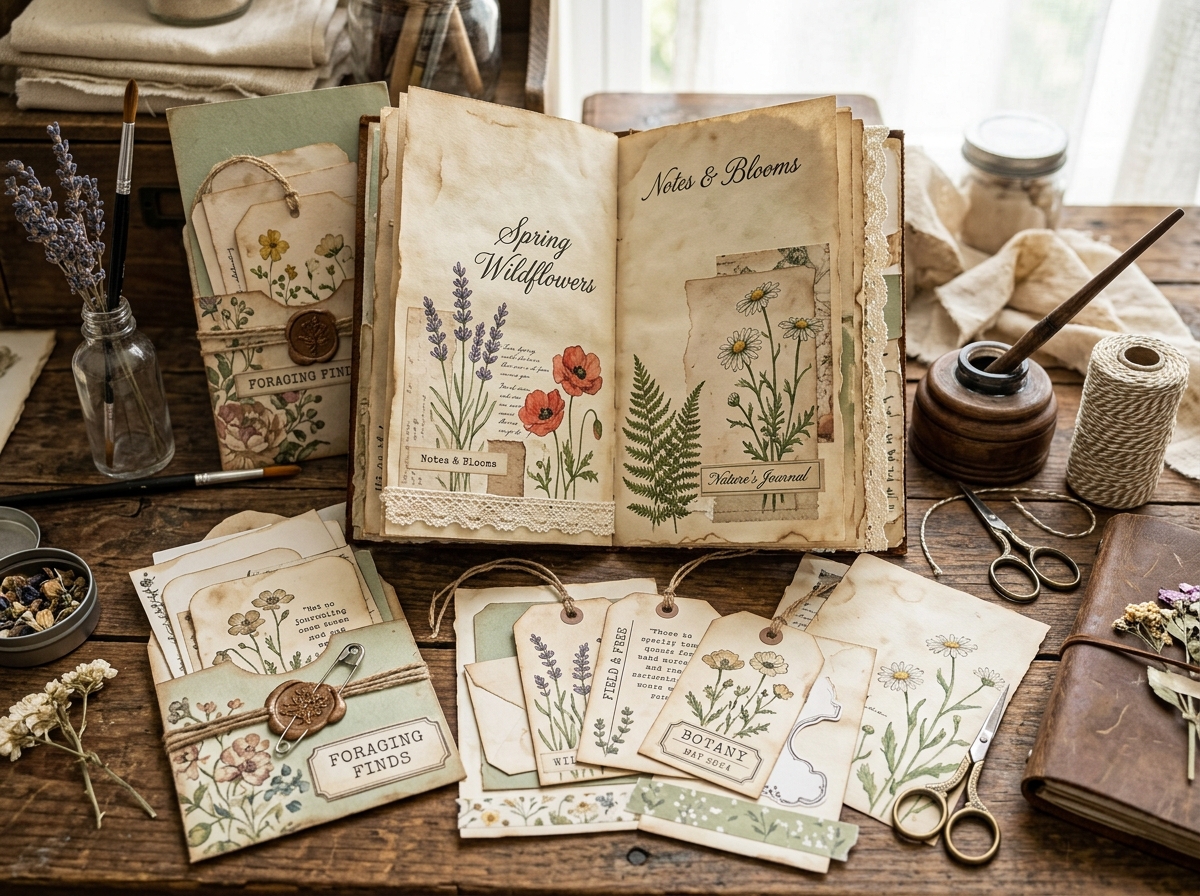
One kit, one weekend, one finished book you will want to fill immediately. Complete step-by-step tutorial on making a mini junk journal from download to bound spine.
Kits can be intimidating. Beautiful pages, dozens of pieces, where do you even begin? Here is the reassuring truth: a kit is not a pile of options — it is a story waiting to be bound. This tutorial walks through the entire journey from download to finished mini junk journal, using the same steps we follow in the studio for [Mini Kits](/category/mini-journals/).
## What you will need
* one printable kit — for this tutorial, something like the [Forest Apothecary Mini Kit](/product/forest-apothecary-mini-junk-journal-kit/) or the [Autumn Letter Writing Set](/product/autumn-letter-mini-kit-printable-fall-writing-set/);
* printer + paper (light paper for pages, cardstock for covers and pockets — see our [Printing Guide](/blog/guide-printing-300-dpi-junk-journal-printables-at-home/));
* bone folder or the back of a spoon; scissors and/or craft knife, cutting mat, metal ruler;
* glue stick + PVA, double-sided tape;
* bookbinding awl (a thick needle and a cork work too), waxed linen thread; needle;
* a couple of binder clips or large paper clips.
## Step 1 — Sort before you print
Open the kit on your screen and sort the files into three mental stacks: **pages** (the spreads that will form the body), **structure** (pockets, envelopes, folios) and **extras** (tags, fussy cuts, labels). Print the structure pieces on cardstock first — they take longest to fold and reveal the character of the finished journal. For a mini journal, print 8–12 body pages and 3–5 structure pieces. Resist printing everything; a kit lasts several projects if you let it.
## Step 2 — Trim and fold
Trim white borders so the design runs to the edge — this single step is the difference between "printout" and "vintage find". Then fold every body page in half with a bone folder for a crisp, burnished crease. Fold with a gentle, deliberate stroke: thin paper creases beautifully; hesitation gives wobbly edges. Stack the folded pages under a heavy book while you work on the next step; pressing makes everything sit flatter later.
## Step 3 — Build your signature
A signature is a nest of folded sheets. Take 4–5 folded pages and slip them inside one another. Now the fun part — sequence them like a magazine editor:
* **Open with atmosphere:** a pattern or ledger page as the first spread;
* **Alternate rhythm:** busy page, calm page, busy page — let the eye rest;
* **Interleave writing space:** insert 1–2 plain or lightly patterned sheets for your own words;
* **End with a quiet page** — something with a big margin for notes.
Everything nested? Clip the signature together so nothing shifts, and check one last time that the outer page is the cover you want shown.
## Step 4 — Add interactive pieces before binding
Attach pockets, belly bands and tip-ins *before* sewing. It is dramatically easier to work on flat sheets. A pocket near the front and a belly band around the middle give the journal its interactive soul from the very first look-through. Reinforce the hinges of any flap with washi tape or a strip of lace — it doubles their life.
> **Studio tip:** Place the pocket so its opening faces away from the spine: sliding a tag out should feel like drawing a secret from a shelf, never like wrestling the spine.
## Step 5 — Bind with the three-hole pamphlet stitch
This is the simplest stitch in bookbinding and the perfect first binding:
1. Clip the signature shut and mark three holes along the spine line: one at the center, one about 1 inch from the top, one about 1 inch from the bottom.
2. Push the awl straight through all layers at each mark. Work on a soft surface so the awl does not tear the paper.
3. Thread your needle with waxed linen thread; knot nothing yet.
4. Take the needle through the **center hole from the outside in**, leave a small tail, then bring it back out through the **top hole**.
5. Go back in through the **top hole**, come out through the **center**, then out through the **bottom**.
6. Bring the needle back to the center and tie a double knot with the original tail, snug against the paper. Trim to about half an inch.
Tighten with gentle, even pulls — firm enough to gather the pages, light enough that the paper stays relaxed. If you want the full walkthrough and larger books built from several sections joined together, see our [Multi-Signature Guide](/blog/how-to-build-multi-signature-junk-journal-from-digital-bundles/).
## Step 6 — Cover and close
For a mini journal, a wrap cover is the elegant finishing move: cut a single piece of cardstock to the height of your pages, wrap it around the front, spine and back, and glue only the spine area so the cover can flex. Mount a fussy-cut focal image dead center of the front and add a tag near the spine for interest. Close the journal with a waxed cord wrapped twice, an elastic, or a wide belly band holding a tag — choose one, not all three.
## Step 7 — Finishing touches
* run a distress ink pad lightly along page edges (walnut stain or vintage photo) for instant age;
* add tabs to three pages you will return to most: dates, dreams, favourites;
* tuck one mystery into the back: a folded note, a pressed leaf, a tiny envelope with a secret;
* date the spine in pencil — future you will love knowing when this little book was born.
## Variations to try next
Once you have one mini journal finished, scale your confidence: make a two-signature journal by sewing a second signature and kissing the pair into one spine (a "two-stack"); flip the format and bind in landscape; or build a pockets-only journal made entirely from the kit's structure pieces. Every variation teaches one more piece of the craft — and every finished book makes the next kit less intimidating.
---
*Pick your first kit in the [Studio Shop](/shop/) — start with a [Mini Kit](/category/mini-journals/) and the [Free Printables Vault](/free-printables/) for practice sheets.*