Printing on Cardstock, Vellum and Toned Paper
By Ephemera Crafts Atelier
•
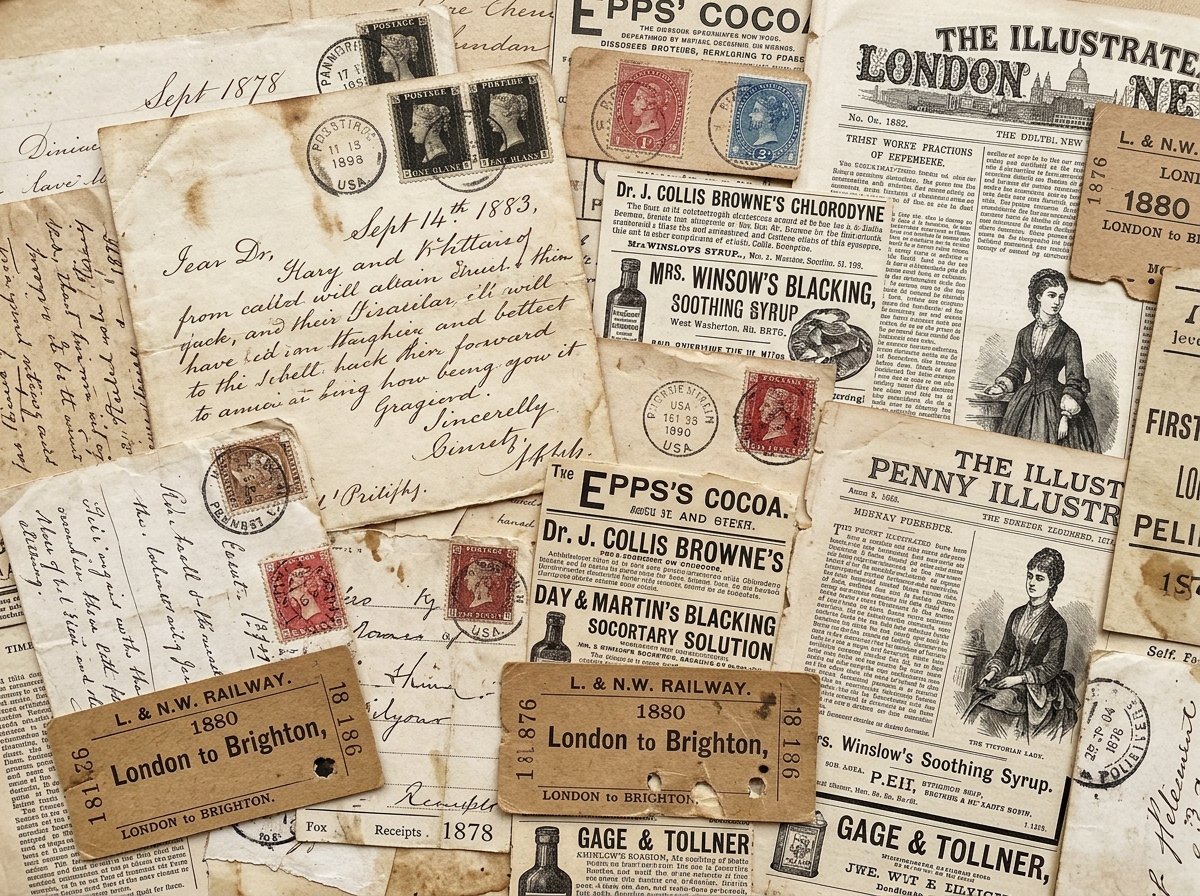
Standard paper forgives mistakes. Specialty stocks do not — but they repay the effort with textures nothing else can match.
Once you move beyond plain paper, printing becomes a physical negotiation: thickness, stiffness, coating and absorbency all change how a sheet travels through the printer and how ink sits on it. Most failures are predictable, and most fixes are small adjustments to feed and settings rather than new equipment.
## Cardstock: thickness is a feed problem
Cardstock fails in three ways: it jams, it warps, or it scuffs. The fixes:
* **Use the rear/straight feed** if your printer has one. Thick sheets cannot bend around the tight rollers of a front tray;
* **Feed one sheet at a time.** Fan the stack first; static and friction cause doubles;
* **Set paper type to cardstock/heavy matte.** The printer will slow down and adjust ink volume;
* **Respect the maximum weight.** If the manual says 200 gsm, do not feed 270 gsm and hope;
* **Score folds after printing.** A bone folder and a ruler produce a clean hinge; folding thick stock by hand cracks the coating.
Warping after printing is common on cardstock because one side receives wet ink and the other does not. Let sheets dry flat, print side up, under a light weight; avoid stacking them while still cool and damp.
## Vellum: beautiful, slippery, and easy to ruin
There are two different products called vellum. **Printable vellum** is coated to accept inkjet or laser ink; **plain vellum** is not, and ink may sit on the surface, bead, or flake off when dry. Buy the printable kind for anything that must hold an image, and test a scrap before printing a full sheet.
Practical notes:
* handle by the edges — fingerprints show and do not always dry clear;
* allow extra drying time; stacked vellum sheets can transfer ink;
* use vellum as an overlay rather than a structural page: it is not strong enough for pockets or hinges;
* if ink adherence is poor, a very light dusting of clear fixative after full drying can help — test first, as some fixatives curl the sheet.
> **Test strip rule:** For any new specialty stock, print a small strip with text, a dark solid area and a fine line. Check for feathering, flaking, warping and drying time before committing a full page. One strip saves a pack.
## Toned paper: printing on colour
Pre-toned or tea-dyed paper changes how inks read. The paper acts as a colour filter: warm beige makes blues look muted, cools whites, and softens contrast. Two consequences:
* **Design for the tone.** A design with large white areas will not print white on toned stock — the paper colour shows through. Use transparent or dark elements instead;
* **Expect colour shift.** Print a test; adjust the artwork's brightness and contrast rather than fighting the paper.
Toned paper also absorbs differently. Hand-dyed sheets may be rougher and more variable, so feed one at a time and check for fibres lifting inside the printer. If a sheet is too textured or thick for your printer, print the image on smooth paper and layer it onto the toned sheet instead — the collage approach often looks better anyway.
## Handmade and textured paper
Handmade paper with visible fibres, inclusions or deckled edges is usually a poor candidate for direct printing: fibres catch, ink pools, and the sheet may exceed the printer's tolerance. Use it as a background, a cover layer, or a backing for a printed element glued on top. If you must print on it, choose the smoothest side, use a straight feed, and accept that some sheets will fail.
## A small workflow that prevents waste
1. Identify the stock and its weight;
2. Find the printer's recommended feed path and maximum weight;
3. Print a test strip with text, solid and line detail;
4. Adjust paper type, quality and density one variable at a time;
5. Record the working combination;
6. Print the batch, drying flat and interleaved.
Specialty stocks are not harder to print — they are less forgiving of assumptions. Test first, and the texture that attracted you in the shop will survive all the way to the journal page.
---
*Next in the series: <a href="/blog/print-quality-control/">print quality control</a> · <a href="/blog/printer-profiles-settings/">printer profiles and settings</a> · <a href="/blog/paper-weight-calliper/">paper weight and calliper</a>.*