Tea Dyeing and Aging Paper at Home: An Honest Guide
By Ephemera Crafts Atelier
•
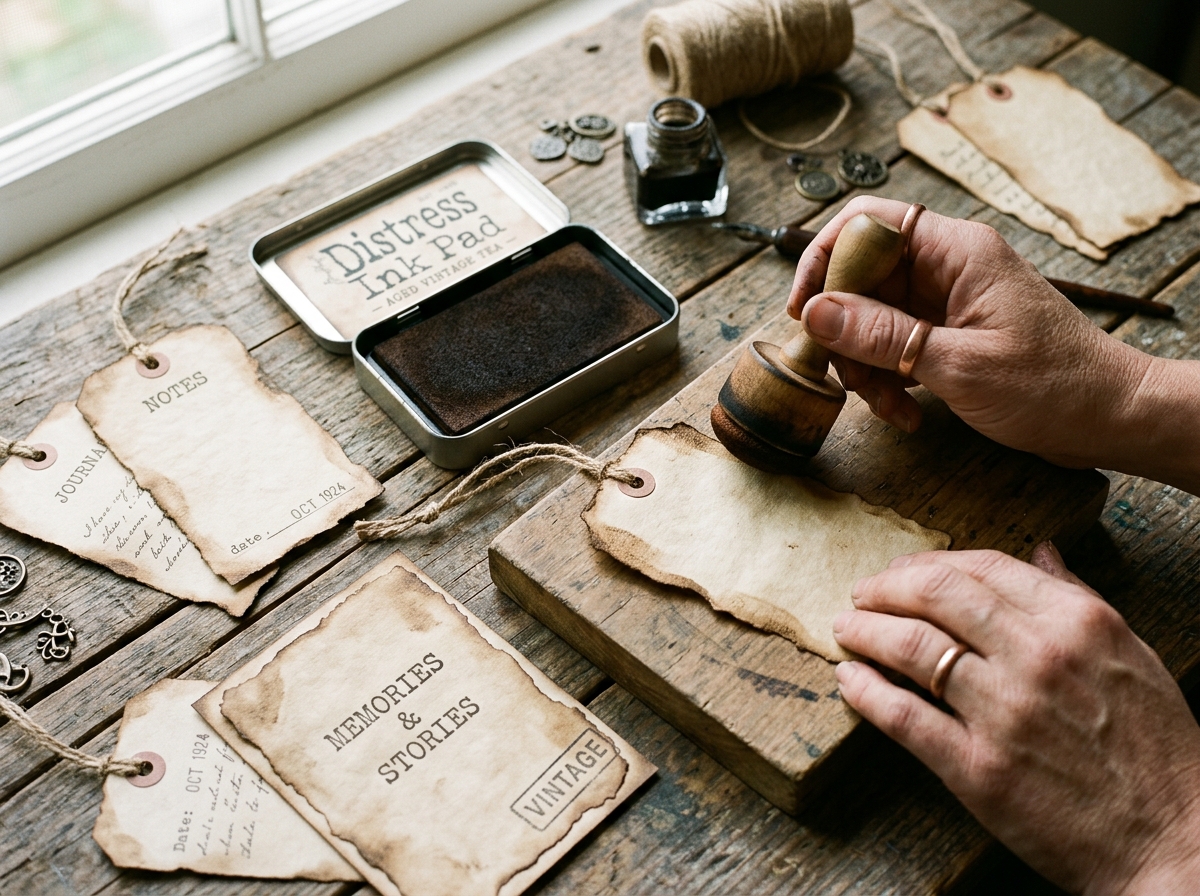
The warm, uneven look of old paper — without turning your pages into a crinkled science experiment. Tea, coffee or walnut ink? Dye before printing or after? What works, what wrinkles, and what to avoid.
Aged paper is the quickest route to "this journal has a history" — and the quickest route to frustration if you learn it from a thirty-second video that skips the drying. This guide covers what actually works at home: dyeing blank paper before you print, aging printed pages without ruining the ink, and the difference between tea, coffee and walnut ink. It assumes you want pages that look old in a believable way, not orange.
## Rule one: dye before printing
If you are working with printables, dye the *blank* paper first, let it dry completely, then print. This is the single most reliable method. Soaking printed pages in tea risks bleeding dye-based inks into muddy clouds, and printed areas age unevenly in a way that looks like a printer accident rather than history. Pre-dyed paper, by contrast, gives you a genuinely toned base, so the printed image sits on "old" paper exactly as an antique print would. The one exception is edge-inking printed pages, covered below.
## Choosing your colour: tea, coffee or walnut
* **Black tea** — soft, warm beige with a yellow undertone. The safest starting point; forgiving and hard to overdo. Steep strong (several bags, left until cool).
* **Coffee** — browner and slightly cooler, with a stronger "aged document" feel. Instant coffee gives a more even tone; grounds add speckle if you want texture.
* **Walnut ink** — deep, rich antique brown with grey shadows; the most convincing "old ledger" tone, and the most staining. Wear gloves, cover the table, and test first — aged walnut crystals are concentrated and deepen as they dry.
You can also layer: a tea base followed by a weak walnut wash gives depth that a single dye cannot. Test on scraps of the actual paper you plan to use — every stock takes dye differently, and cardstock absorbs far less than text paper.
## The dyeing process, step by step
1. **Brew the dye.** Very strong tea or coffee, cooled to room temperature. Strain out grounds or bags.
2. **Prepare the workspace.** A shallow tray or baking dish, a sponge or wide brush, paper towels, gloves, and a drying rack lined with towels. Protect the surface — walnut ink in particular stains permanently.
3. **Test a scrap.** Dip, blot and dry with a hairdryer to see the true dried colour — wet paper always looks darker than the finished sheet.
4. **Dye the sheet.** For even tone, dip the whole sheet briefly and lift it out by opposite corners, letting excess drip back. For a mottled, hand-made look, sponge the dye unevenly, heavier at the edges.
5. **Blot immediately.** Lay the sheet flat on a clean towel and press another towel over it to remove surface pools. Pools are what cause tide lines — sometimes charming, sometimes not.
6. **Dry flat.** Paper curls as it dries; dry sheets flat between clean towels with weight on top, or hang briefly and then press. A hairdryer on low speed helps speed the process but can set wrinkles.
7. **Flatten with an iron.** Once dry, press each sheet with a dry iron on low–medium between two sheets of clean paper. This is the step most tutorials skip, and the one that turns crinkled experiments into usable pages.
> **Studio tip:** Dye a batch of pages at once and let them dry overnight under a board. Dyeing is 20 minutes of work and hours of waiting; making one sheet at a time doubles the cost in patience.
## Variations worth trying
* **Dipped edges:** hold the sheet flat and lower only its edges into the dye for a graded border — perfect for journal pages that will be layered;
* **Speckles:** flick dye from a brush across the page with your finger; let dry fully before stacking;
* **Stained lace and doilies:** dye cotton lace in the same bath for texture that matches the paper;
* **Tags and envelopes:** dye them along with pages so every element in a spread shares one palette;
* **Tea-stained "letters":** dye an envelope and write the address in sepia ink — a finished prop for pocket pages.
## Aging pages you have already printed
Do not soak them. Instead:
* **Ink the edges.** Run a blending tool with vintage photo or walnut stain along cut edges — heavier at corners, feather-light along the middle. This single step does eighty percent of the work.
* **Add a light wash away from the print.** Sponge weak tea only on blank margins or the reverse side, then dry immediately; keep water away from dense ink areas.
* **Crease and press.** Gently crumple the page, smooth it flat, and press with a dry iron between clean sheets for a soft, handled texture. Spray fixative afterwards if the page will be handled a lot.
* **Test one page first, always.** Inkjet inks vary enormously; what works on one printer bleeds on another.
## Drying, storage and the mold question
Paper must be bone-dry before it goes into a journal. Damp pages trapped in a closed book can develop mold — especially in humid climates — and mold destroys paper faster than any ink. Dry flat, press, and only then stack. Store dyed pages away from direct sunlight; tea tones fade slowly, and uneven fading looks like damage rather than age. If you live somewhere very humid, a simple trick is to press dried pages under weight for a day before use.
## What about printed pages that must stay crisp?
Use the printing route: dye blank sheets, print at "Actual Size" on matte stock, and finish with edge inking only. If a whole page needs a heavier aged look, print it slightly lighter and softer in the first place — our [Printing Guide](/blog/guide-printing-300-dpi-junk-journal-printables-at-home/) explains the settings — then add dye at the edges. Layering printed crispness with dyed softness is exactly how antique paper actually behaves: the print stays dark, the paper around it fades.
Start with one test sheet, one tea bag and one evening. The moment a page comes out of the press looking like it survived a century in an attic, you will understand why this technique never leaves the studio.
---
*Try it on free pages first: download from the [Printables Vault](/free-printables/), then explore [Printable Paper](/category/paper/) for full sets.*